Miracle Pay User Manual
What is Miracle Pay?
Miracle Pay is a tool that allows business owners to carry out cryptocurrency based both physical and e-commerce purchases with ease.
Registration
In order to benefit from Miracle Pay a user must register and create an account via Miracle Pay landing page
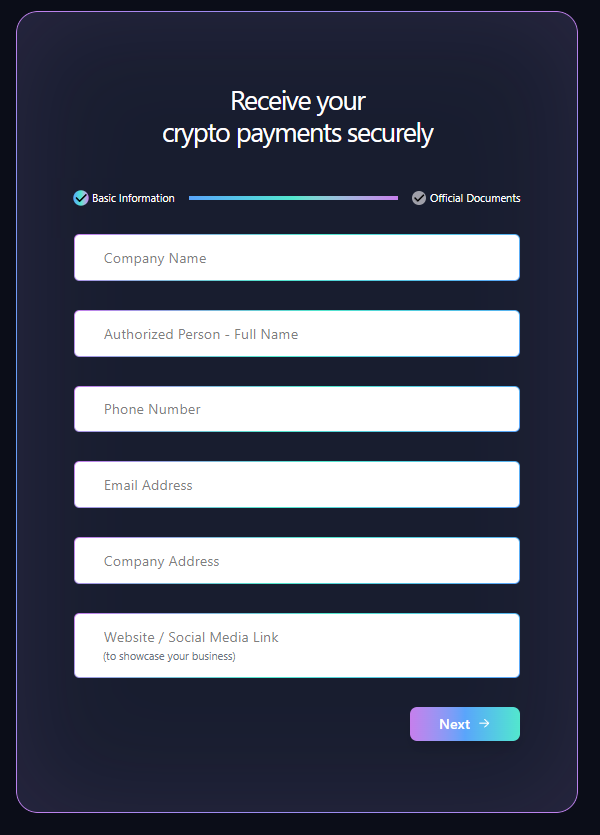
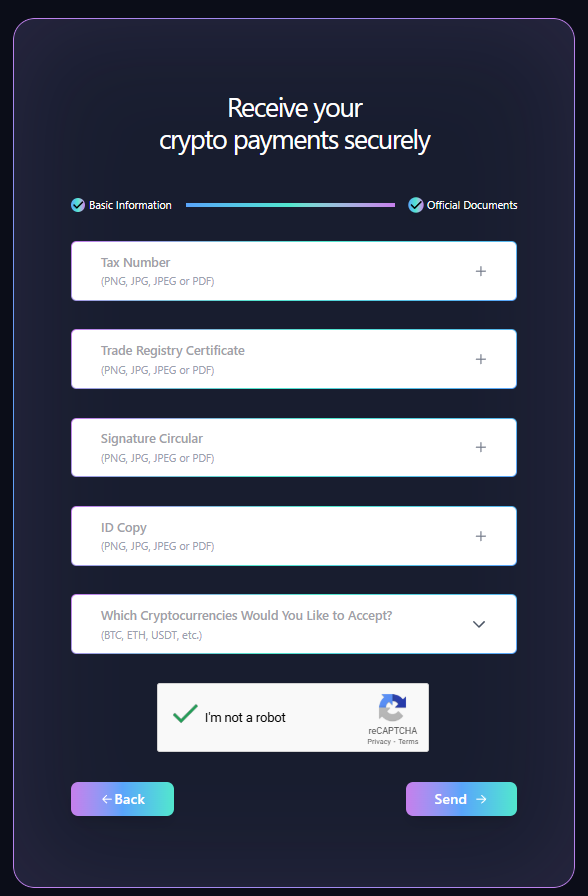
After submitting the form a Merchant account will be created.
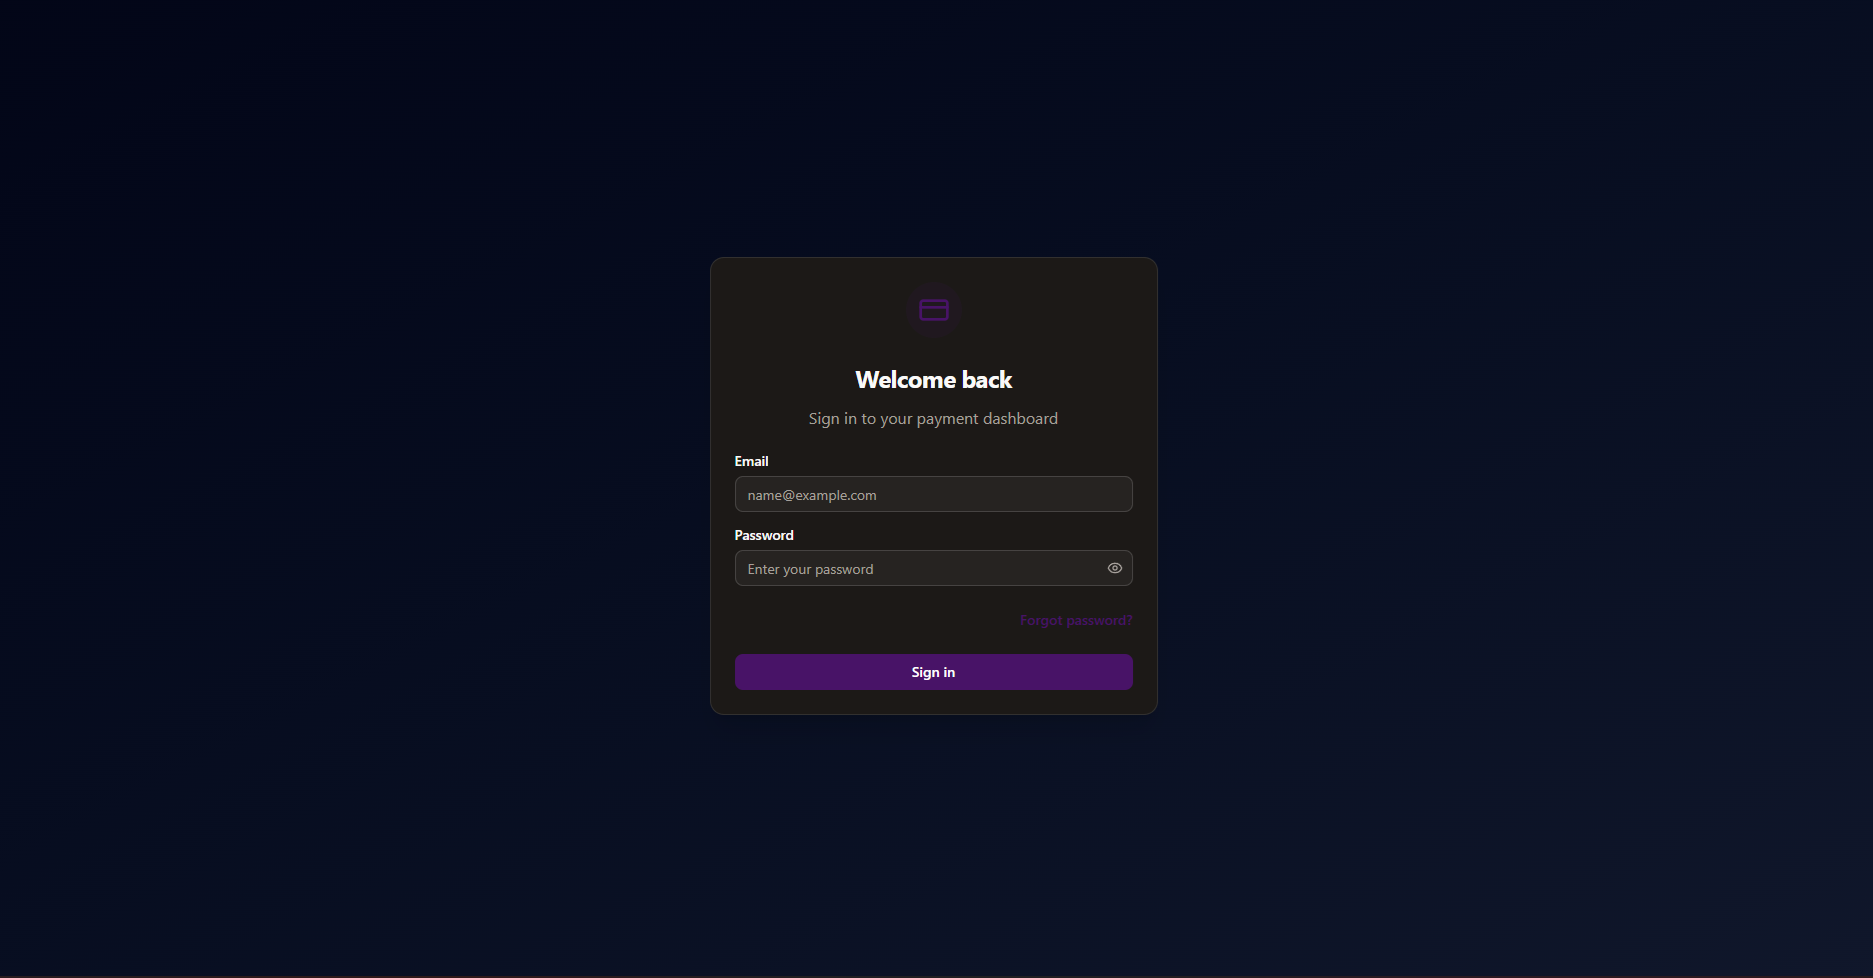
Then you may login to your merchant panel via Miracle Pay Merchant Page When it is first time to login, the user will be asked to setup a Google two-factor authentication.
Google Authentication
Miracle Pay accounts are protected by Google's two-factor authentication (2FA), in order to login to your account after the first time, one must setup Google's 2FA. On merchant's first login the merchant will see the page below.
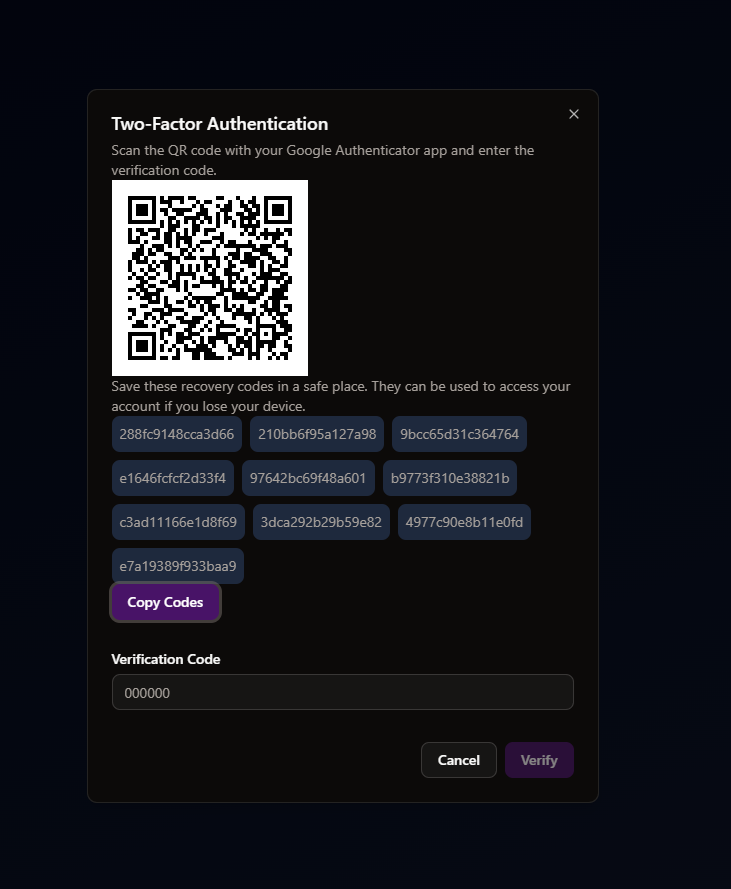
After successfully setting your Google Authenticator, you may use authenticator generated password to login to your account.
TODO Add 2FA login image
KYB Verification
When an account/merchant is created, they will not be able to do any transactions before activating their account via a Know Your Business (KYB) check. On first login after 2FA setup you will be redirected to KYB services.
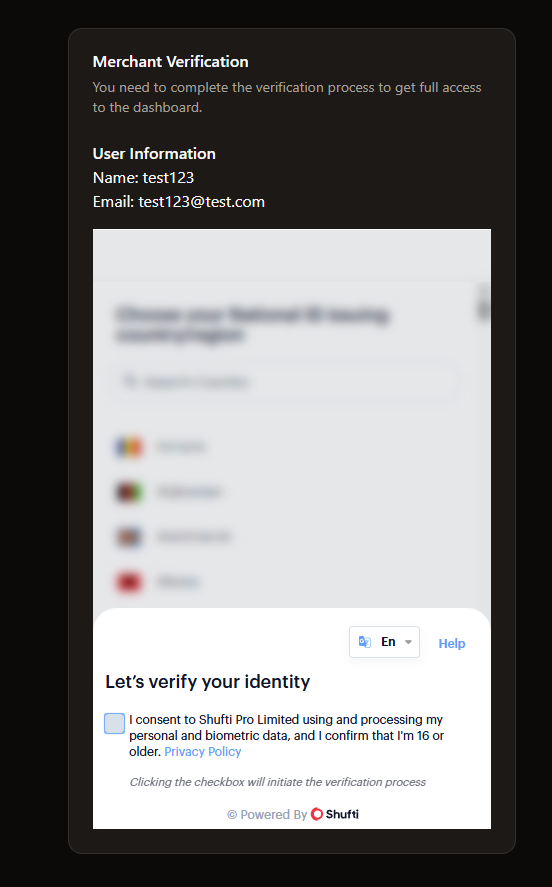
After following the steps of the KYB and providing necessary verified documents, you will be put on hold until further notice via email.
TODO Add confirmation email
Branch Creation
After every confirmation is complete this will be the main screen you will come across.
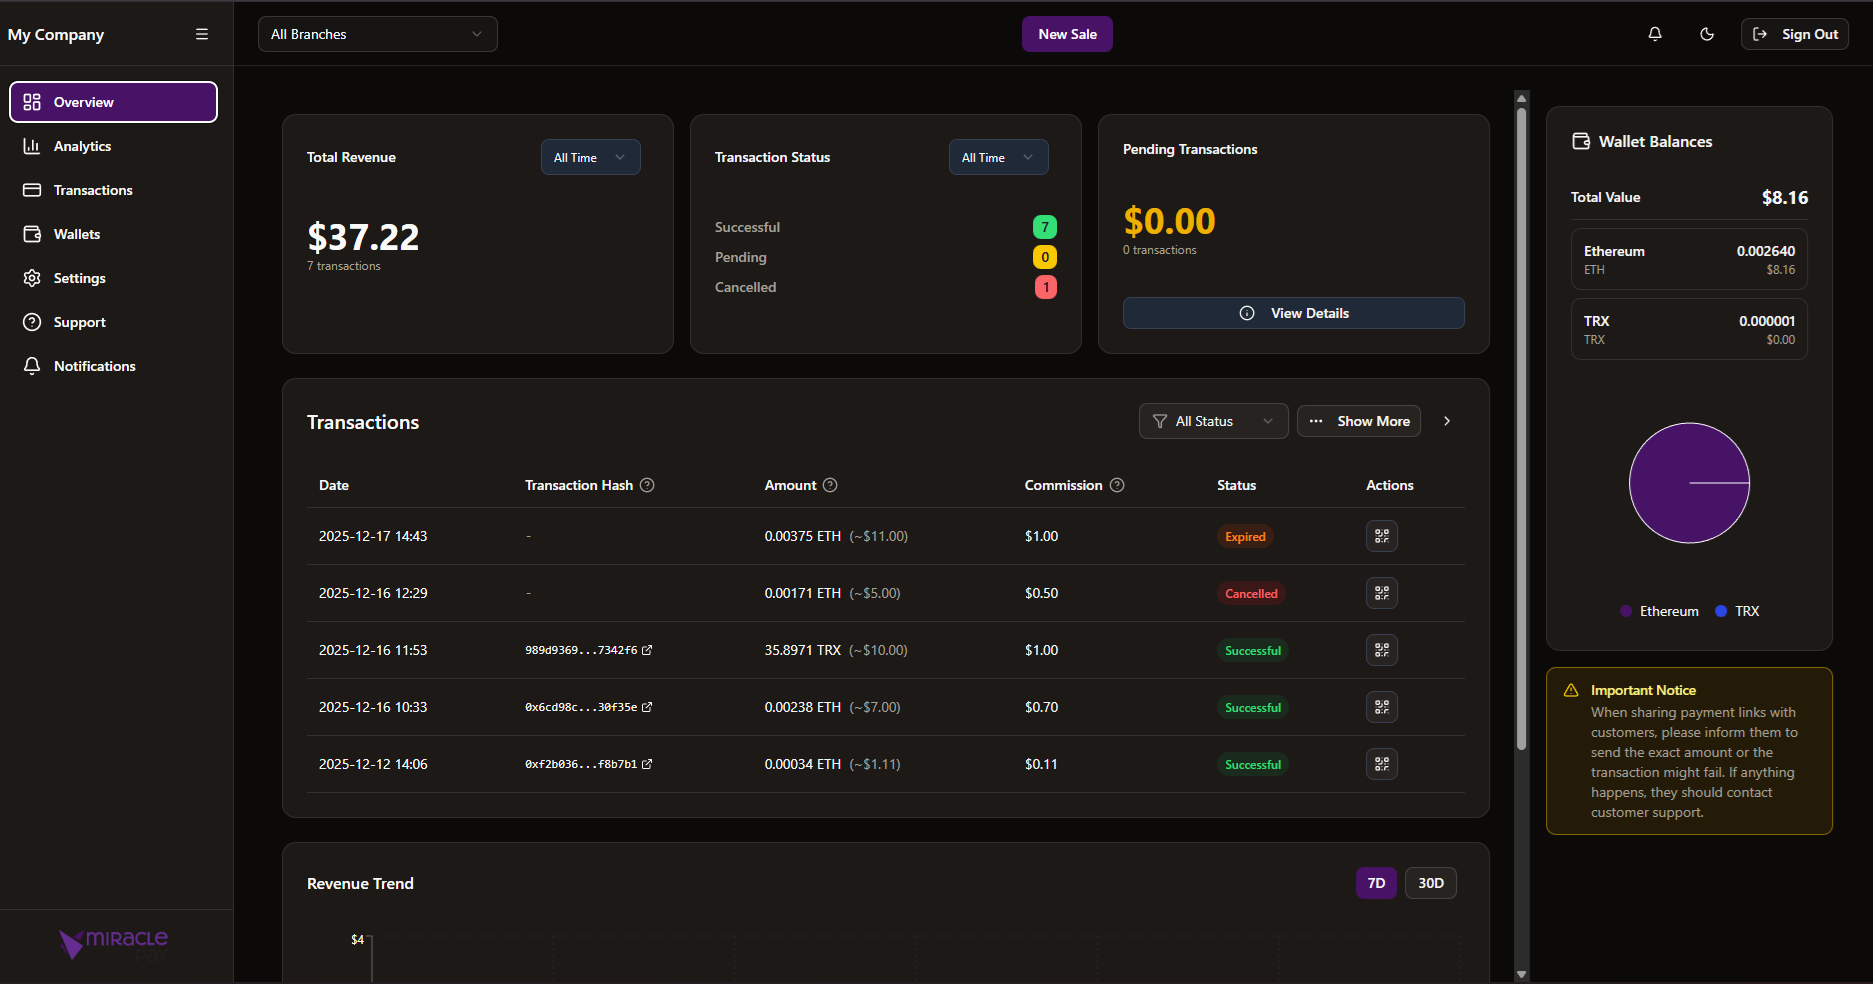
Miracle Pay supports businesses with multiple branches, many branches can be created to be operated in different locations/bases however, a merchant must have at least one branch to be able to operate.
In order to create a branch first you must click to the Wallets section.
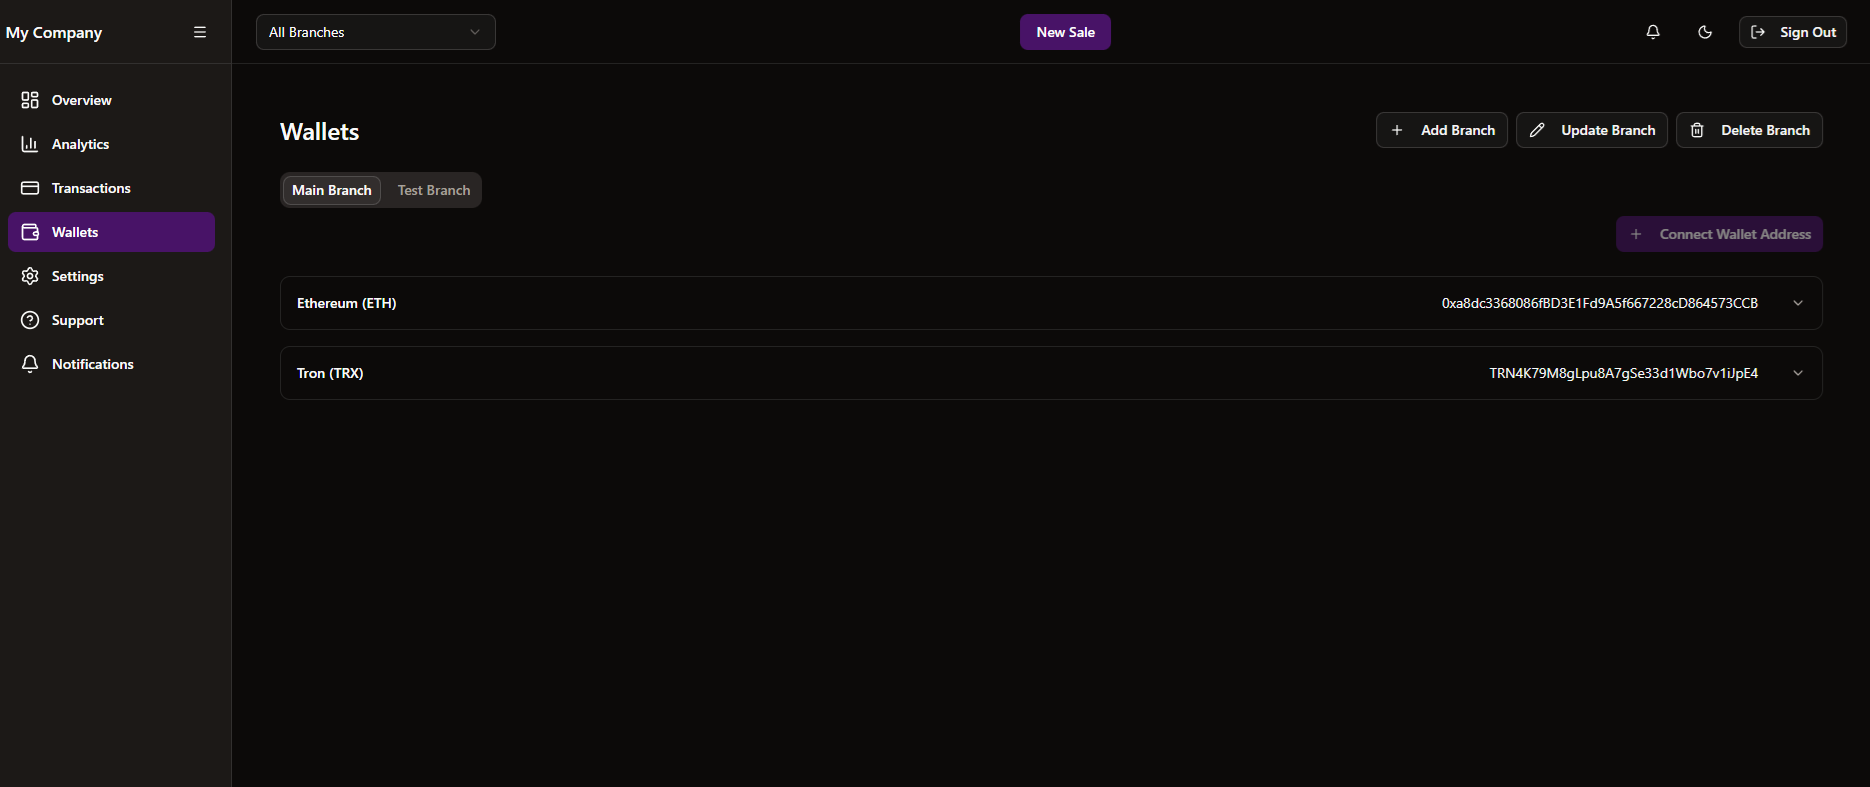
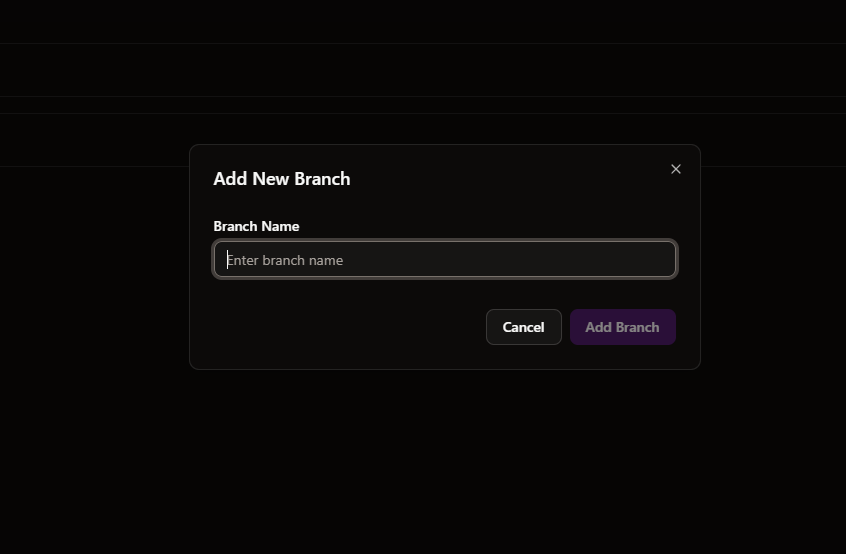
Click on Add New button to create a new branch, afterwards you choose your branch name and Add Branch.
After a branch is created you should connect wallet addresses for each cryptocurrency networks we provide through Connect Wallet Address button.
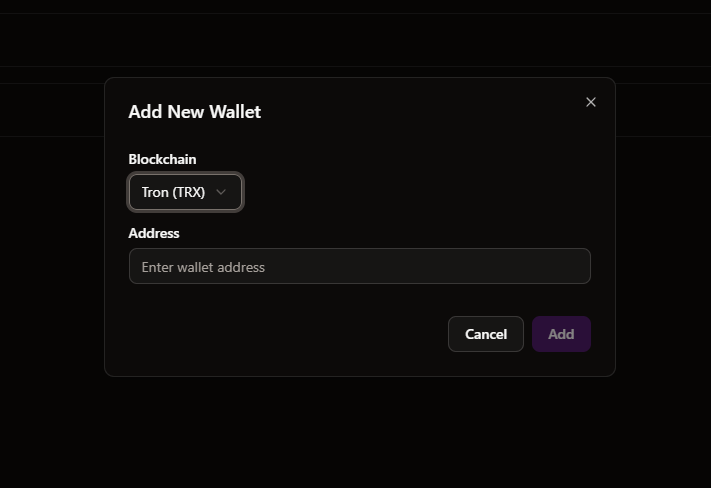
Now you are ready to receive payments via cryptocurrencies.
Creating a Sale
To create a sale first, a branch must be selected.
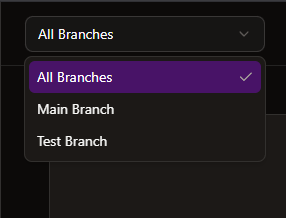
Afterwards, click on the New Sale button to choose the cost amount and if the commission will be taken from the merchant or the customer who will complete the payment.
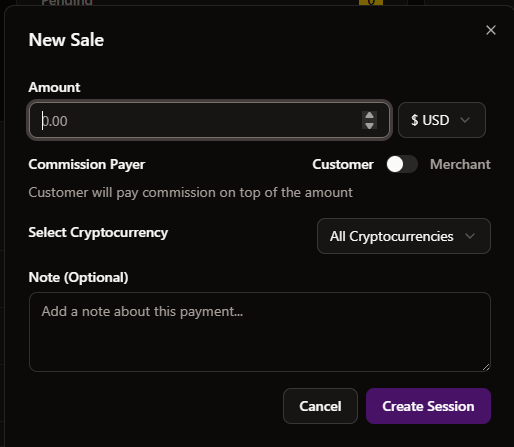
On clicking Create Session with inputs provided a QR will be generated. The customer can scan the code or click on the link complete the payment on their side.
Developer Settings
If you want to accept payments programmatically from your own website or application, the merchant panel also provides a developer area:
API Keys — create and manage the API keys used to sign requests to the External Payments API. Keys can be scoped, rotated, and revoked; the secret is shown only once at creation.
Webhooks — register HTTPS endpoints to receive signed payment event notifications (for example when a payment succeeds or expires).
Allowed Redirect Domains — the list of domains your checkout
redirectUrlvalues are allowed to point to.
See the Integration Guide for the full API documentation.